Build Onchain Apps with OnchainKit ⛵️ 🌊
Build your first onchain app effortlessly with OnchainKit's app template. Save weeks of initial setup and easily integrate onchain components with web2 infrastructure.
Our opinionated approach streamlines early decisions, making your development process smoother.
Whether you're a hackathon participant or an ambitious entrepreneur aiming to build the next big thing, this template is tailored for you.

Play with it live here.
Out of the box
- Next.js v14 with App routing 🏗️
- Ethereum L2 support through Base 🔵
- Easy account creation with Smart Wallet
- Live examples for Minting and Paymaster experiences with wagmi and Viem 🚀
- Latest styling best practices with Tailwind CSS 💅
- Easy maintenance with linting, formatting, and tests ✅
Getting Started
Fork the repo
Go to https://github.com/coinbase/onchain-app-template and click on the "Use this template" button to create a new repository based on the template.

Client API Key(s)
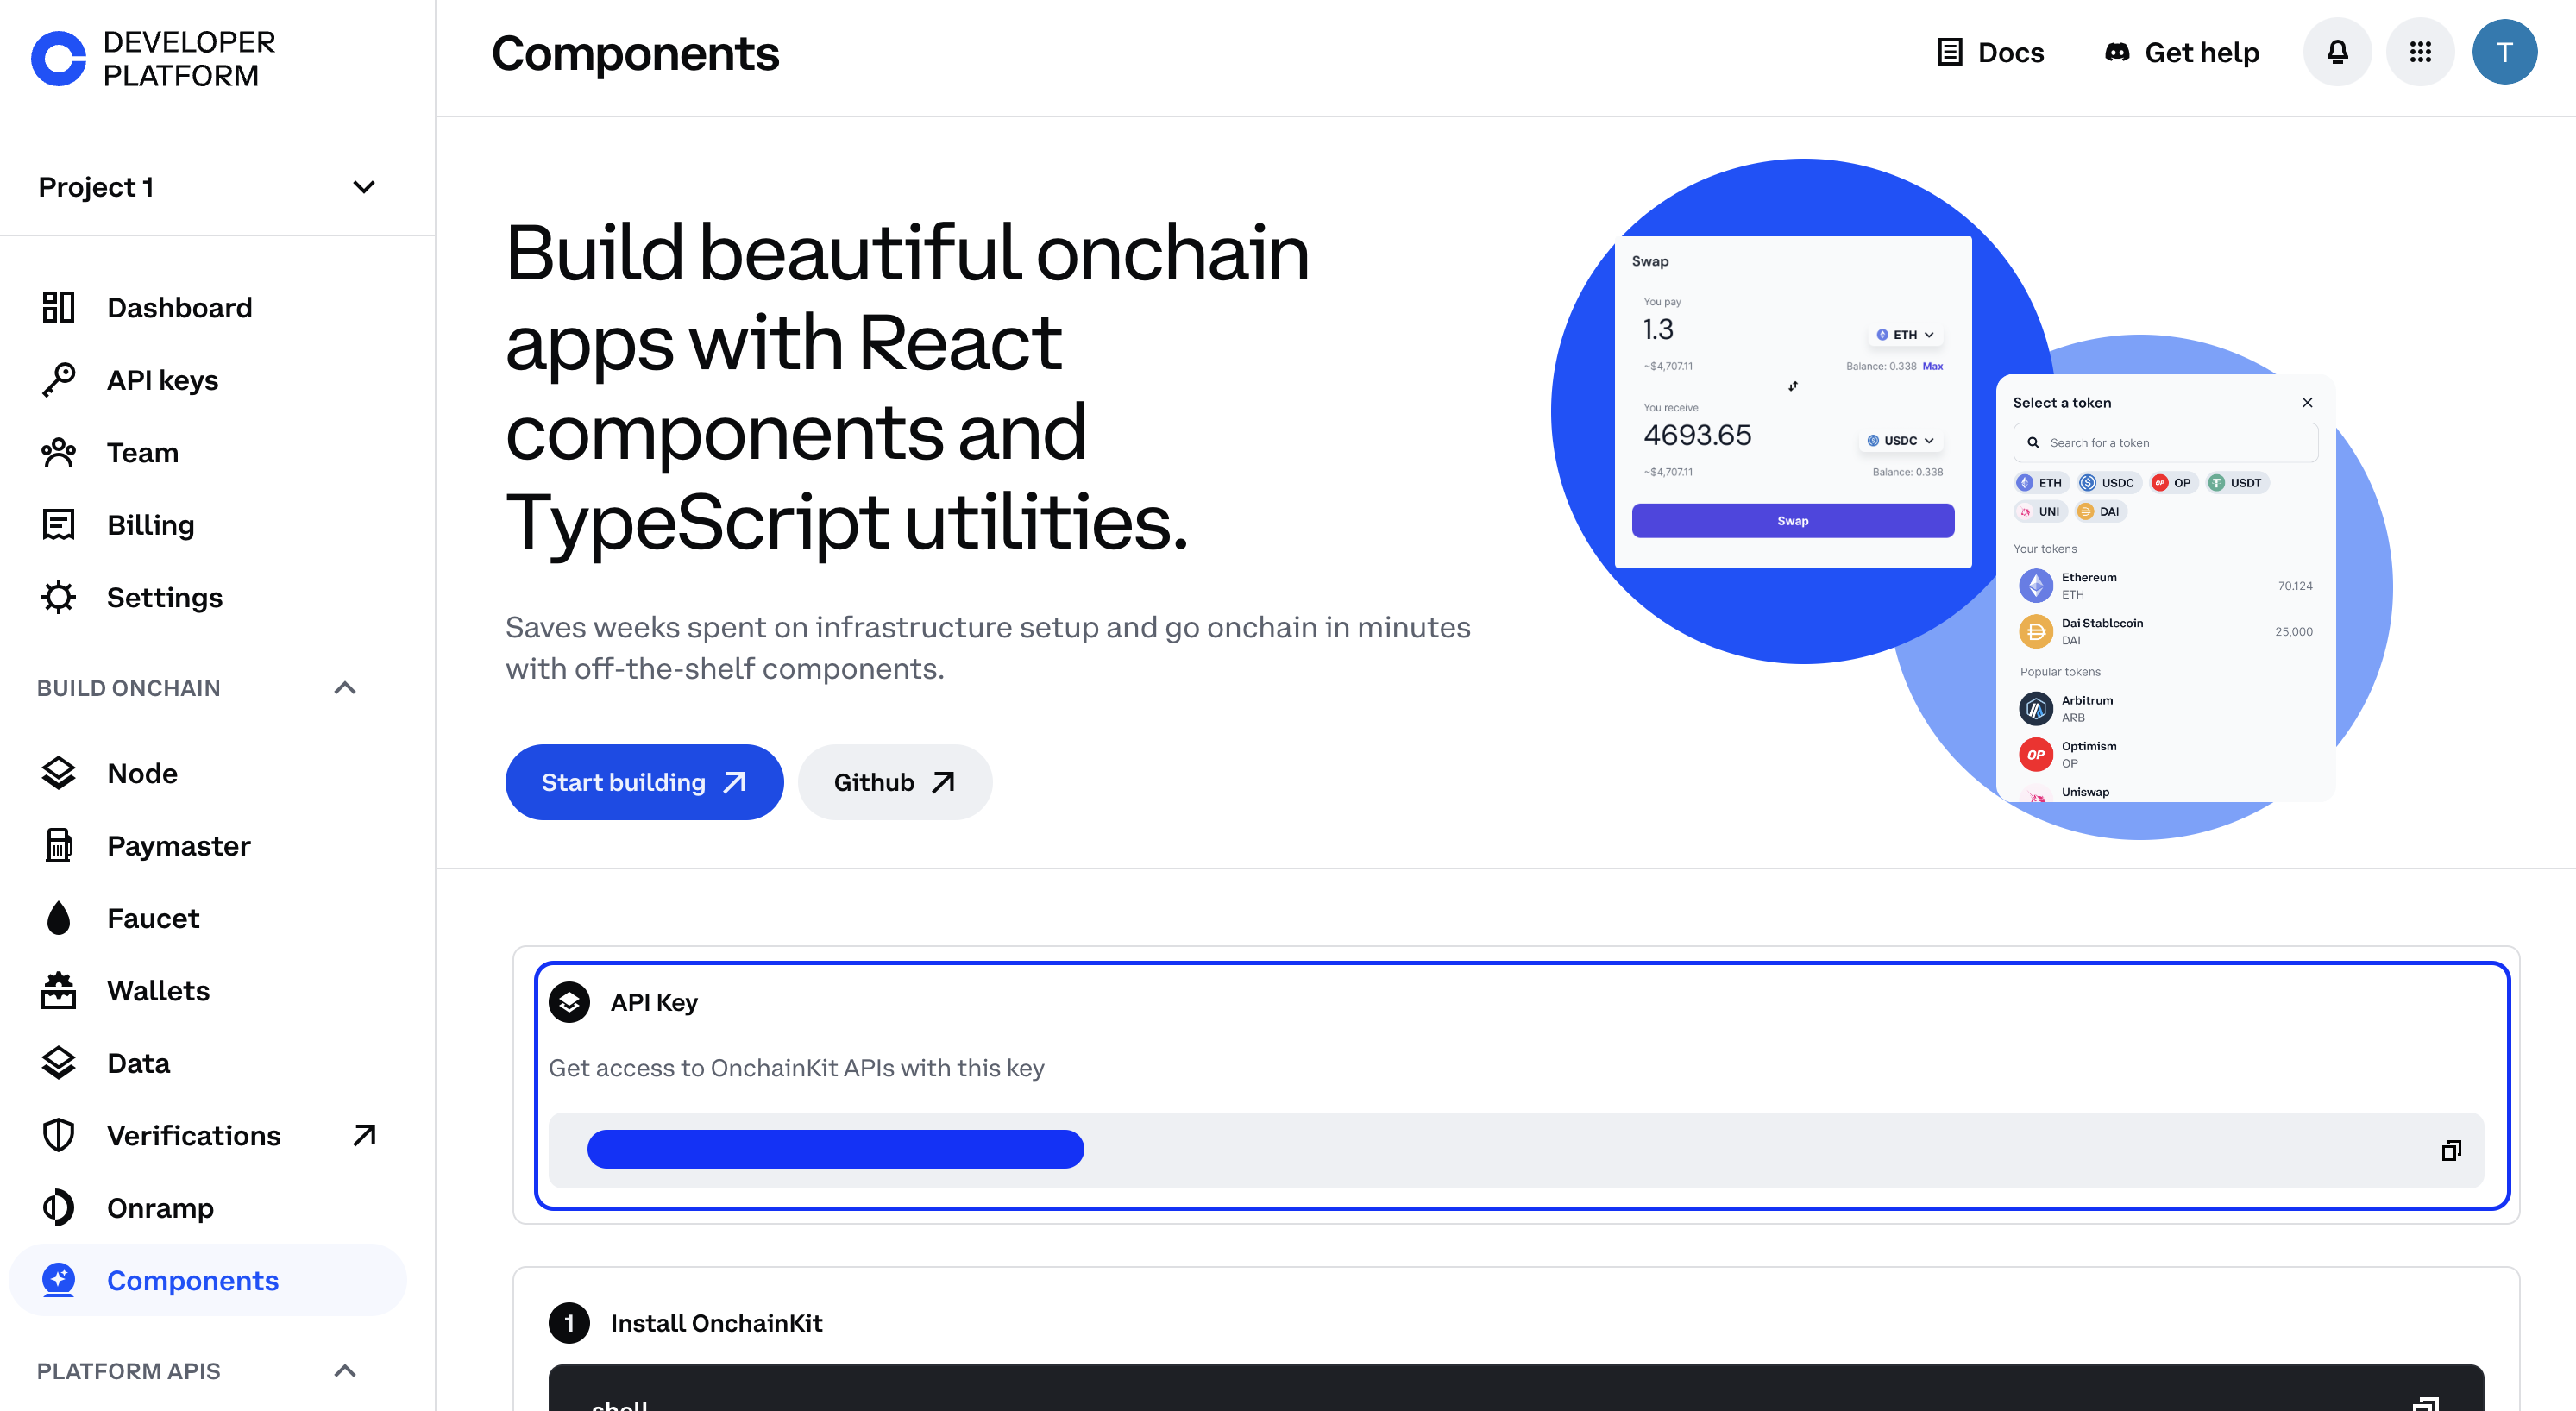
Get your Client API Key from Coinbase Developer Platform.

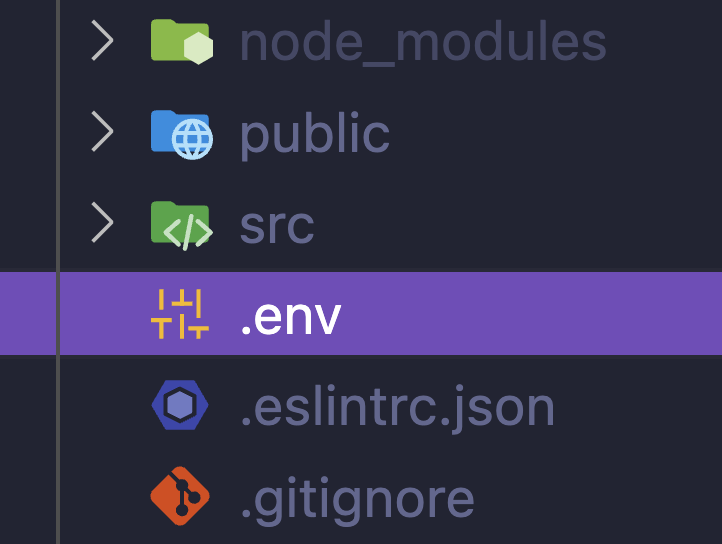
Create a .env file
Create a new file in your project’s root directory and name it .env.

NEXT_PUBLIC_CDP_API_KEY=YOUR_PUBLIC_API_KEYInstall dependencies
In your new onchain app repository, run the following commands to install the dependencies:
# Install bun in case you don't have it
bun curl -fsSL <https://bun.sh/install> | bash
# Install packages
bun iRun the app
Now you are ready to run the app and start building onchain experiences!
# Run Next app
bun run devNeed more help?
If you have any questions or need help, feel free to reach out to us on Discord or open a Github issue or DMs us on X at @onchainkit, @zizzamia, @fkpxls.